


I dressed up on a Halloween day which turned out to be an okay experience that did not disturb other people or gather quizzical looks. The biggest challenge was being confident. Not an easy thing to do for me as I thought if I was weird then people would look at me. Later in January and April 2023 with me dressing up in an anime costumes set I invited my photography enthusiast friend to take shots outdoors (because it is boring inside) and it was charming.
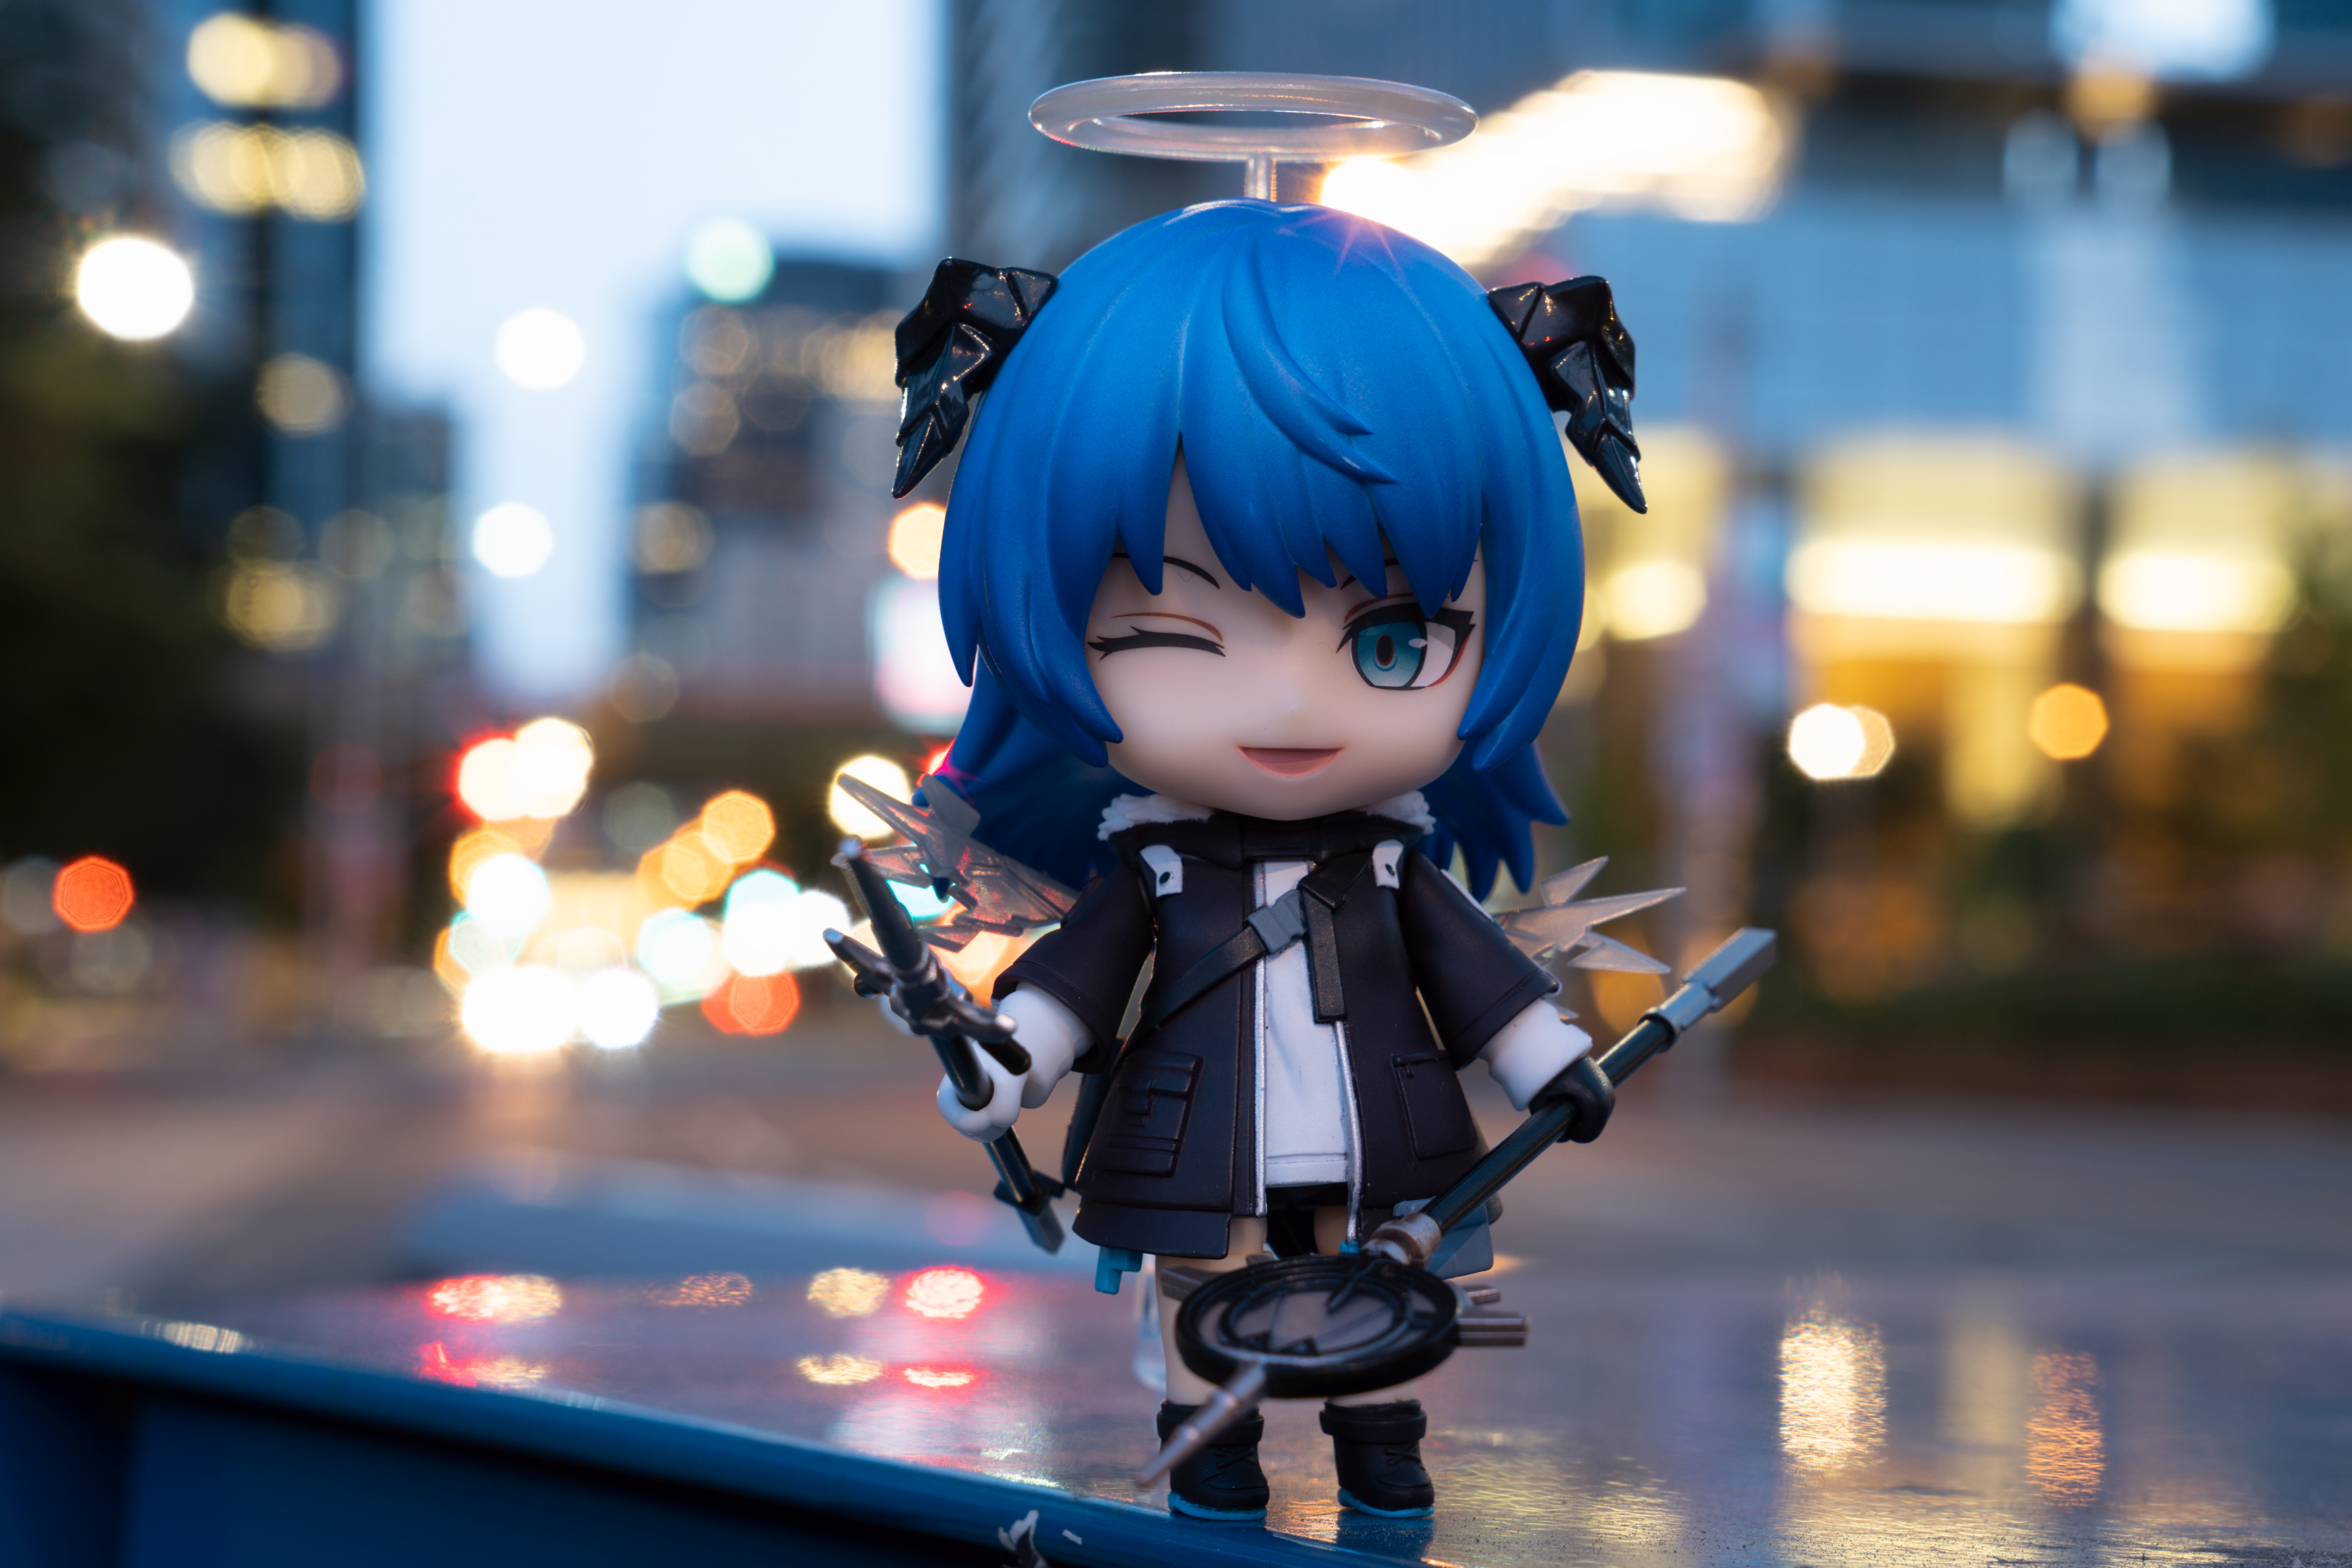
The character is Mostima from game Arknights. She is a mage.
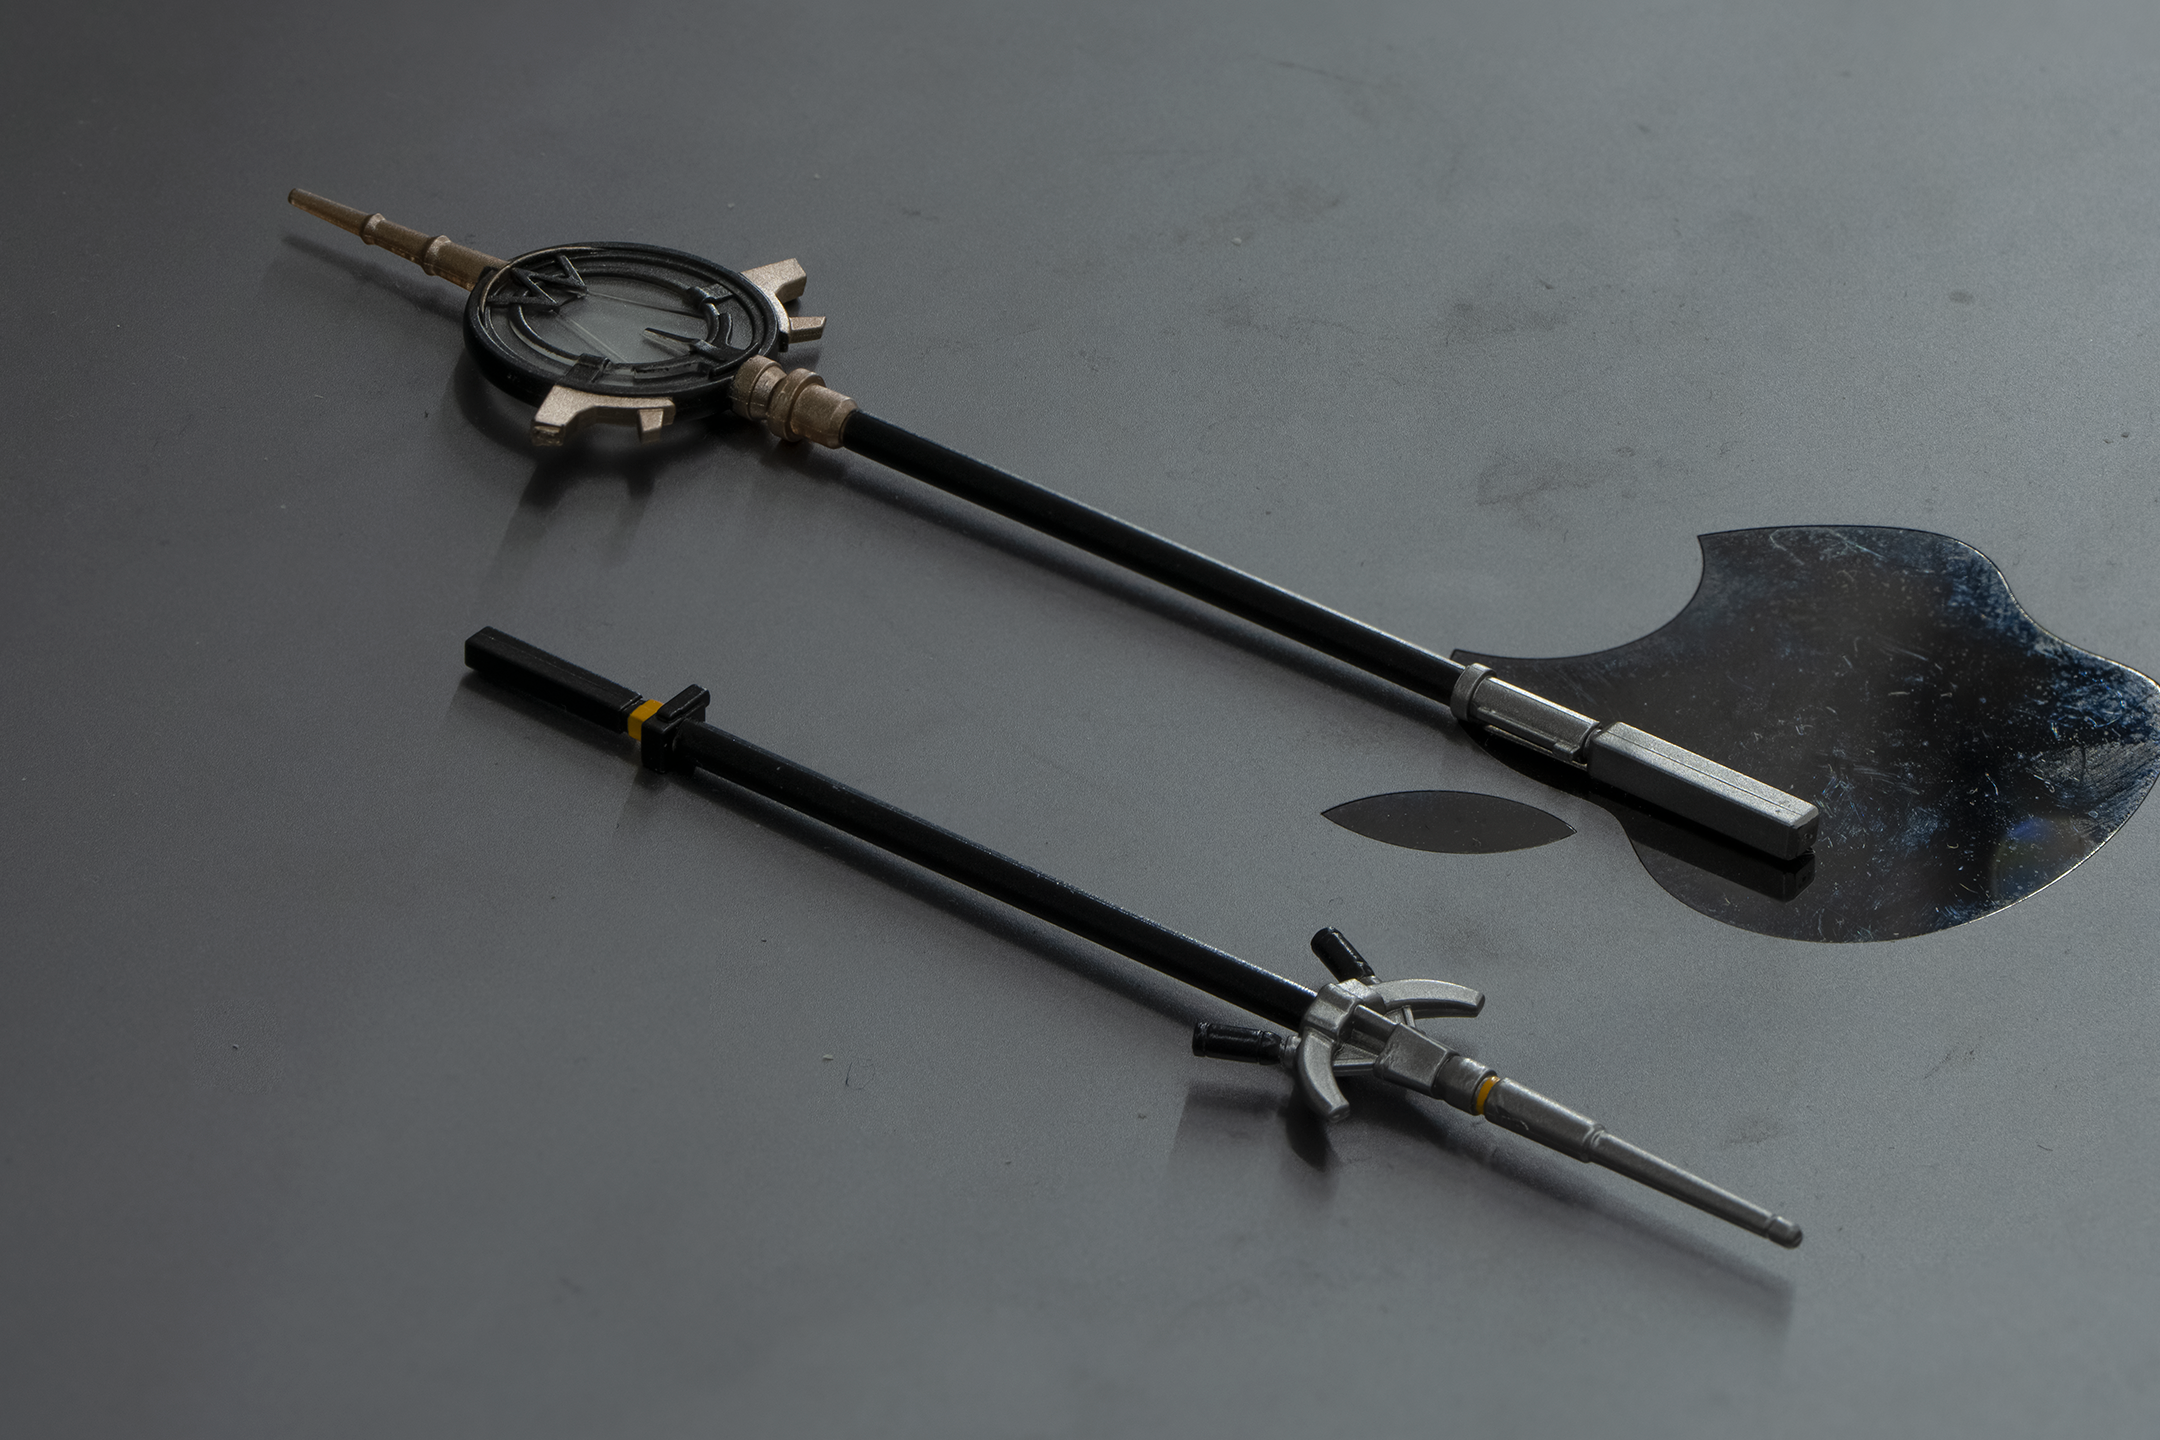
At this moment, I only had the clothing you can buy from any website. I got them for around 400 CAD (items made from inexpensive materials, but I don't know why they were so costly). They did not fit perfectly so I modified them. For the gears such as weapons, there are options to purchase them online, but they are evenly expensive. I am considering if I want to retake photos with the set.
On this page, I'll write down some of my thoughts for my first time doing this. The photos come on the next page.
Photo taking
I had some good results and some didn't work. My friend had a Sony α7c with a Tamron 70-200 so they took many pictures using the longer focal lengths.
- Mid-long millimeters are good for close-ups (such as faces)
- When taking the full body, the standing subject (me) looks very flat and wide due to the "compression of space". It is not recommended. However, it looks good if I squat. Sitting might also give good pictures, but I did not try.
- With this, I should avoid standing firmly with limbs together. Doing so also exposes all the weaknesses in the body figure. Perhaps more dynamic poses like legs apart work better for the picture. Videos about photo/selfie poses should give more insights, and I should have checked them earlier.
- Wider zoom, e.g. 50 mm (FF) and below, should work well for full-body photos in contrast. I used to do it with my phone and it gave better results in terms of body shape than I had in this session.
I ought to mention that one should not position the subject to occupy the entire frame, e.g. both the head and the feet being close to the border. Instead, leave some rooms for the background. This is useful because of two things: first, the subject would be less prone to unwanted distortion; second, it helps post-processing like cropping and perspective.
Another thing good to do is to move up the camera a little so the subject is down. This can let the distortion lengthen the legs for you, or when applying perspective, stretch the legs instead of the hair.
Instead of                     Should do
┌───────────────┐              ┌───────────────┐
│     xxxxx     │              │               │
│     xxxxx     │              │               │
│     xxxxx     │              │      xxx      │
│     xxxxx     │              │      xxx      │
│     xxxxx     │              │      xxx      │
│     xxxxx     │              │      xxx      │
│     xxxxx     │              │               │
└───────────────┘              └───────────────┘
Apparently my photos violated some of these. I wish I knew them earlier, though.
Editing
My friend took pictures for me and gave me the image files. I performed the post-processing myself.
Unlike landscapes, the main focus for portrait photos is the person in the center of the image. Everything is about the person. The background and its styles and colour palettes are secondary. For me, editing portraits was much more time-consuming than editing landscapes and objects because it requires fine tweaking of the subject (I have personally taken pictures of people after this, too).
Given many similar pictures, I prefer consistency over the quality of individual ones (I could edit the ones I like specifically afterwards). The steps are:
CR:
- Open the photo.
- Load the .xml file from the previous photo in the same set of photos.
- Undo geometrical transformations, and delete red eye selections and masks if there are.
- Check exposure settings.
- Check some colour tones like skin and hairs if they don't mess with the background.
- Check denoise.
- Check lens corrections (watch out those that are auto-applied).
- Check geometrical transformations, or distortions to affect the body shape.
- Check red eyes.
- Select subject and apply exposures.
- Select background and apply exposures.
- Can also denoise to make later liquifying easier.
Edits:
- Check if there are artifacts due to bad Photoshop Camera Raw opening job.
- Use the liquify tool:
- Enlarge eyes.
- Fix shoulder widths, waist, hip, etc.
- Check the background is not twisted, or it is not apparent.
- By setting the exposure to max, I sometimes can find imperfections not visible in normal brightness.
- Fix the body proportion, e.g. linearly stretching the lower body by stretching the part of the image containing it.
- In general, this should be done with care to the background as well. People can easily spot it if the stretching of the background is not consistent despite the subject is when you have multiple images with similar backgrounds.
- In the free transform tool in Photoshop, I find the "bilinear" interpolation works best. The "bicubic" one creates white strikes; and the "nearest neighbour" gives colour faults across the entire affected region.
- Because my face looks long with big masks, I have to shorten the portion of my face covered by the mask.
- If wearing colour contacts, make them brighter.
- Apply soft skin.
- Fix other imperfections.
- Denoise and then sharpen.
For shortening the face with mask, I have two ways depending on whether I need to repeat it for multiple pictures with similar compositions.
- I have noticed the dark mask has many points that look like noises. Moving them with liquify tool has ugly results. So first select the mask and the neck (no hairs) to heavily denoise the region until the noise disappears. Then use liquify to shrink the face. Then select the same region and sharpen.
- Or use the same method as changing body proportion by selecting the rectangle across the image containing the face, shorten it, and lengthen one of the remaining halves. Easier.
(Why did I not realise I could "liquify" the body proportion?)
If the dressing and the makeups are good enough, then a lot of steps can be omitted :-[
I might or might not have done all of these for each image. Just to note them down here for a reference.